Aug 2 Training Camp
Photos from August 2 training camp practice.
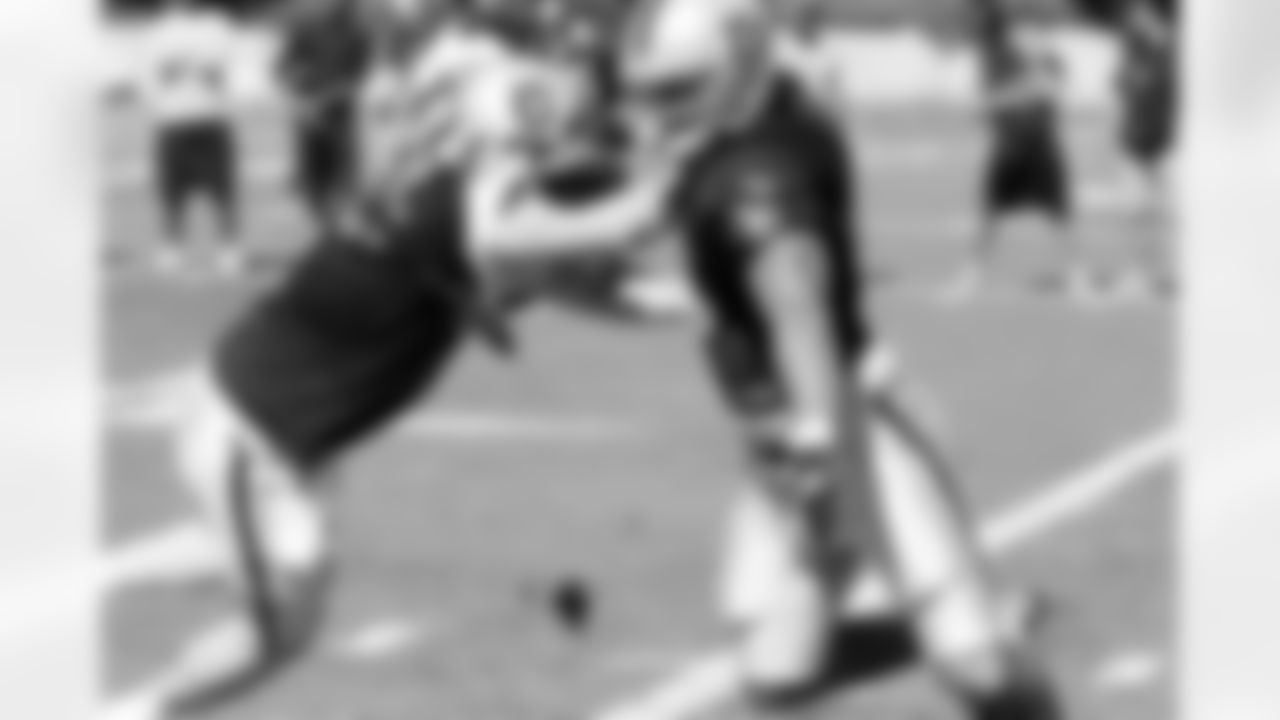
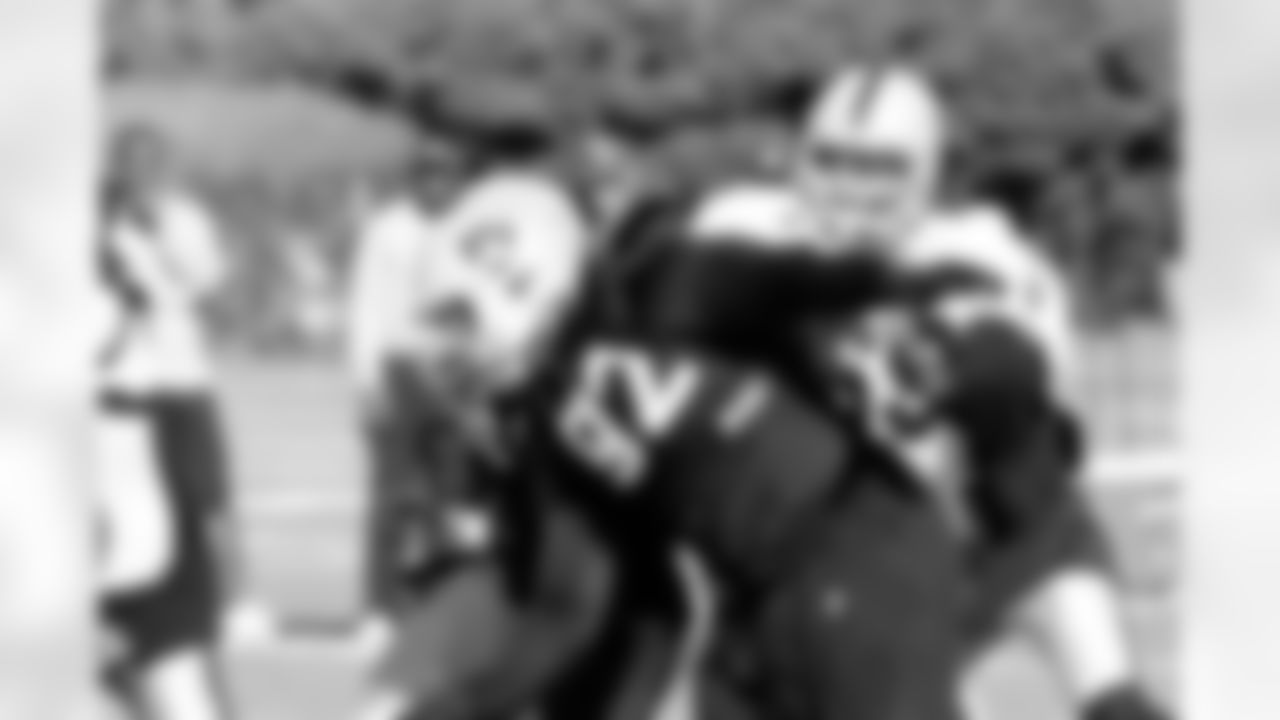
RB Michael Bennett unsuccessfully takes on LB Ricky Brown. Photo by Tony Gonzales.
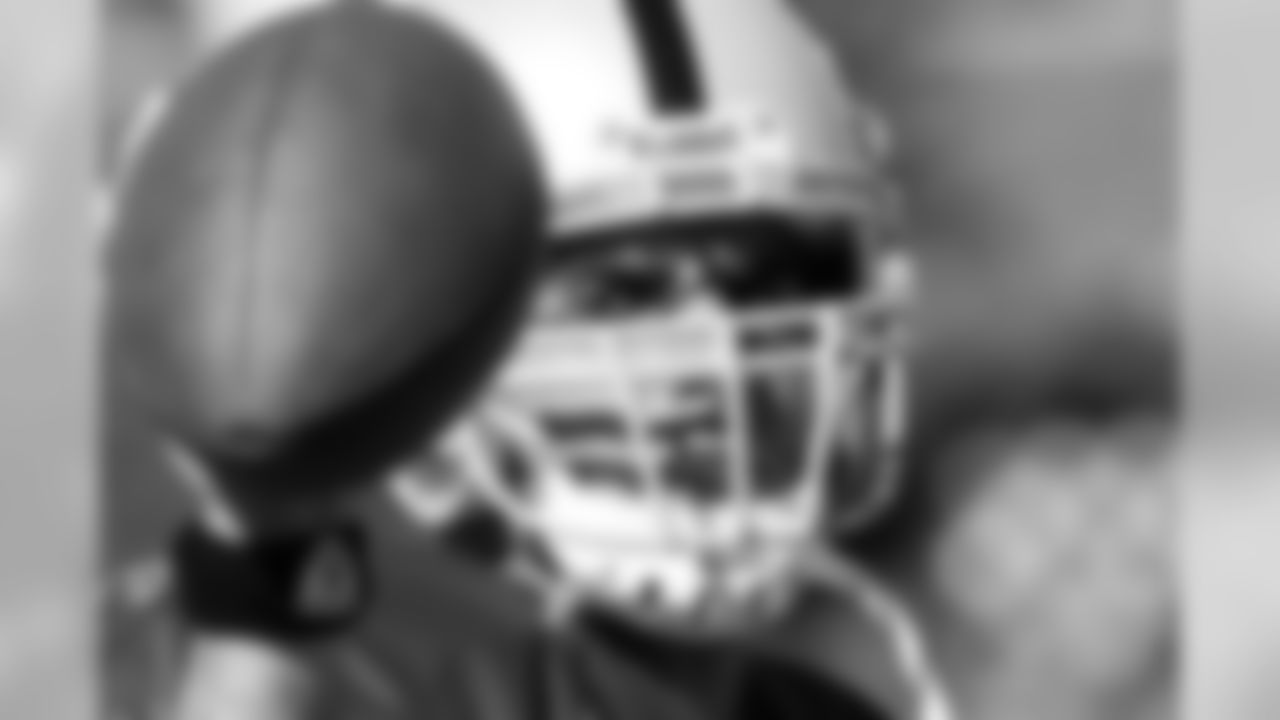
RB Michael Bush participates in a drill while making a fashion statement with the helmet visor. Photo by Tony Gonzales.
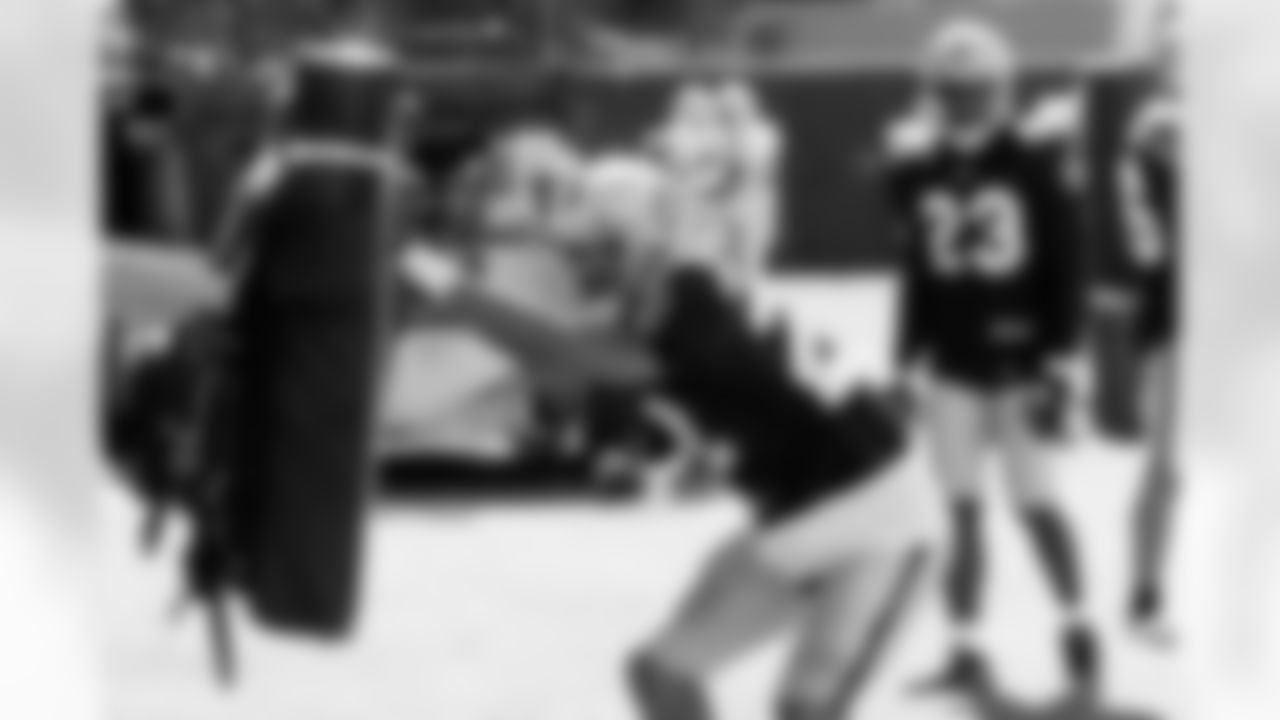
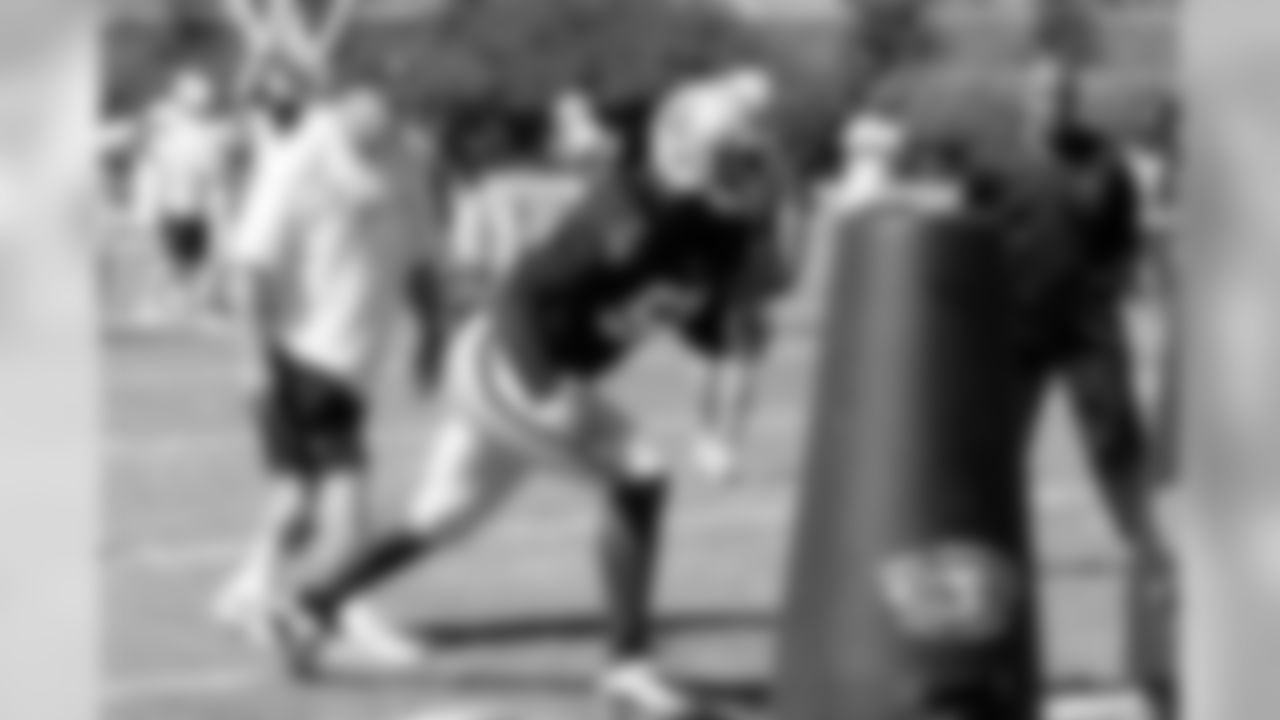
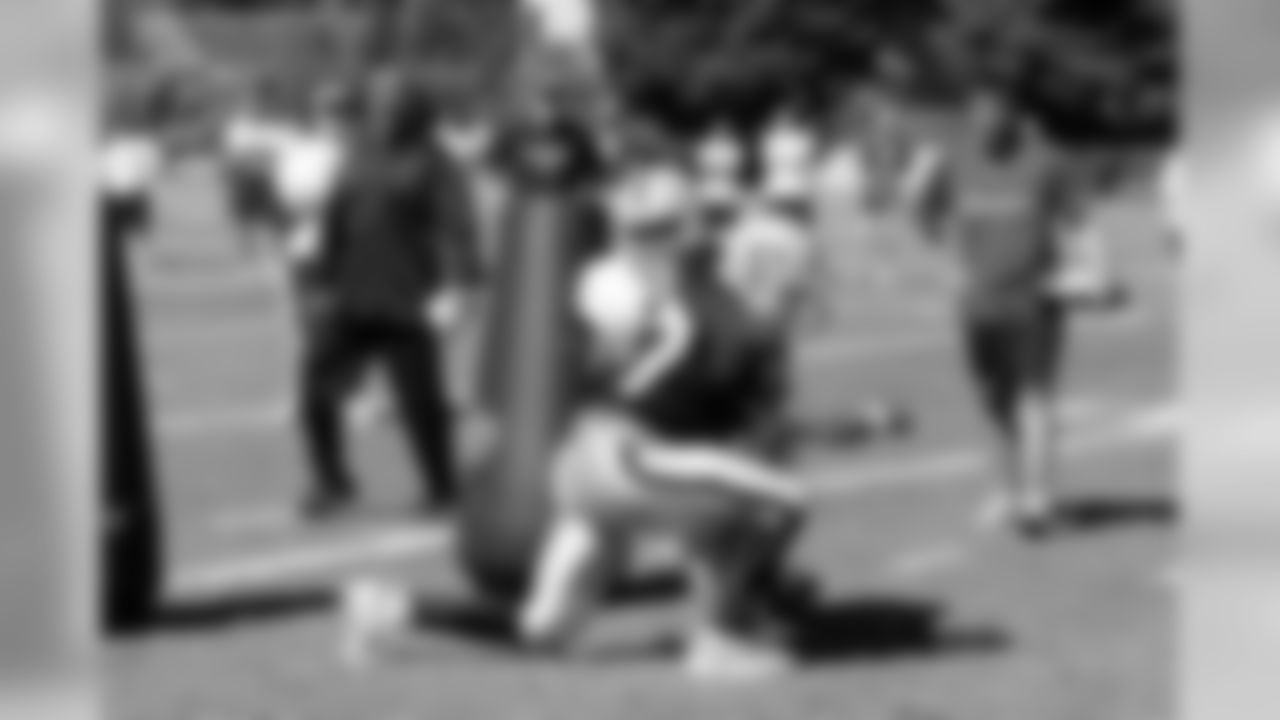
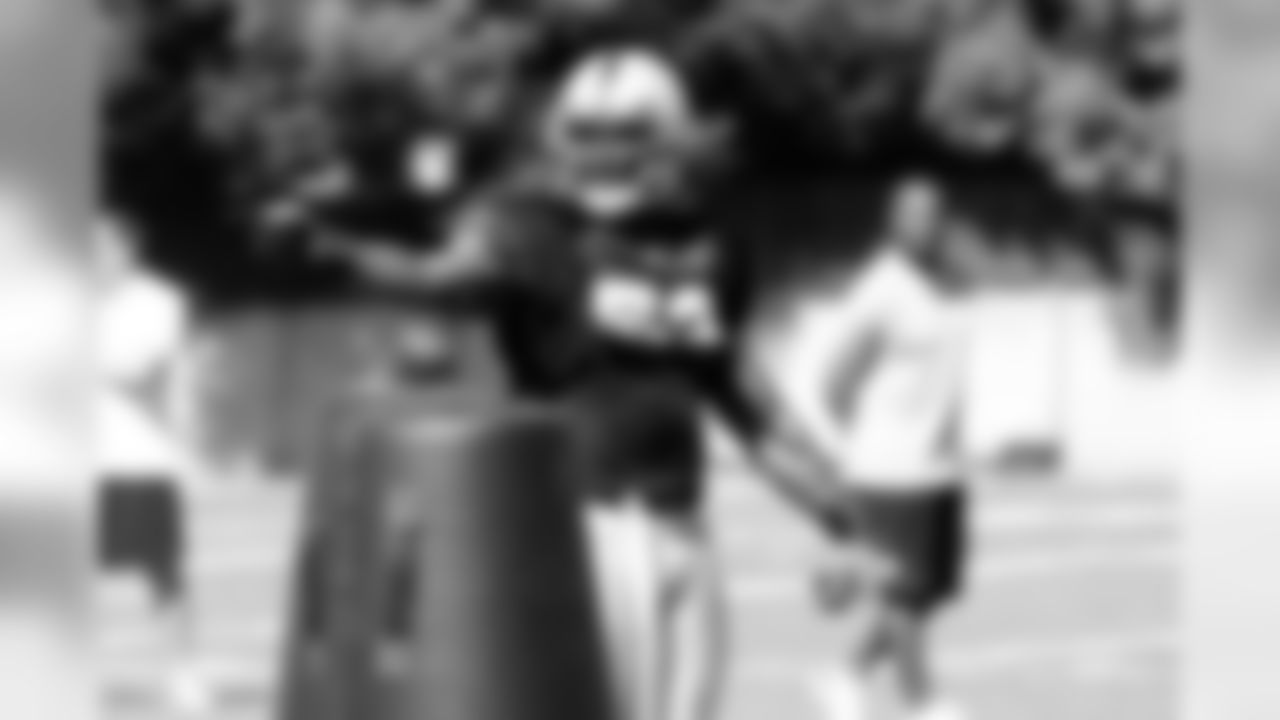
Rookie CB Walter McFadden hits the sled as the defensive backs work on their techniques. Photo by Tony Gonzales.
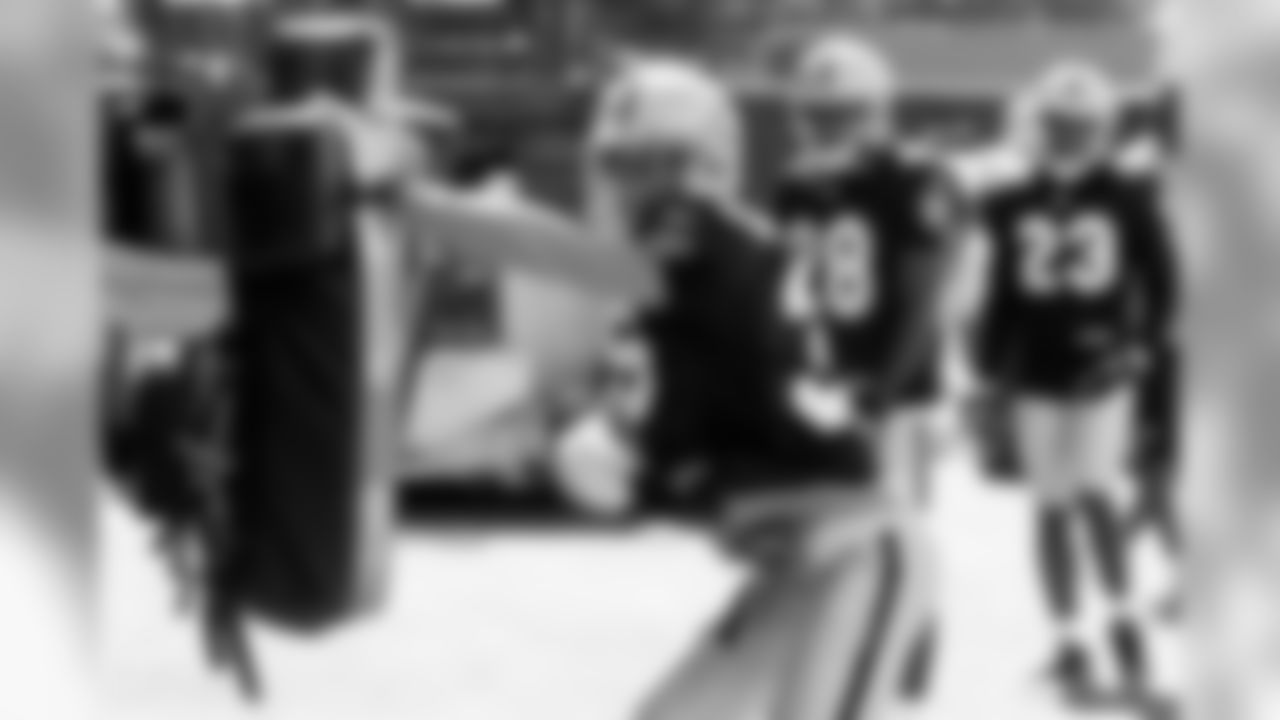
CB Joey Thomas hits the sled.
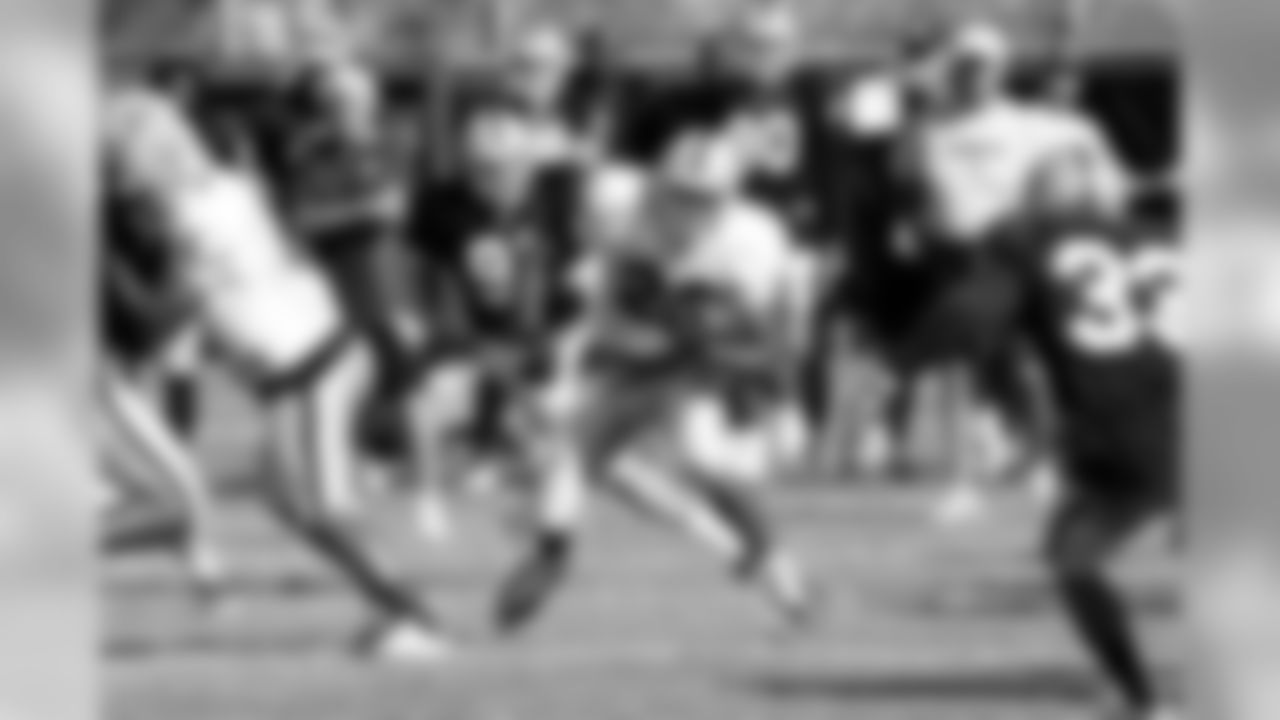
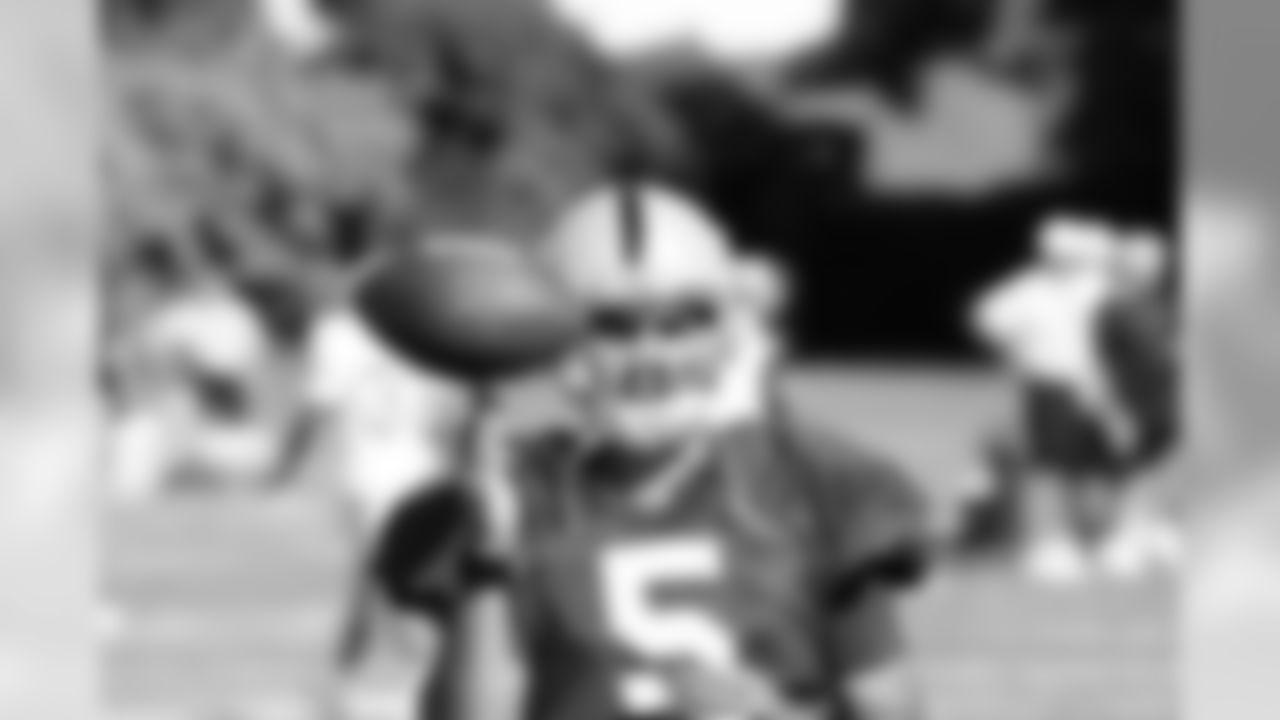
WR Darrius Heyward-Bey finishes the play. Photo by Tony Gonzales.
Offensive linemen work on their techniques. Photo by Tony Gonzales.
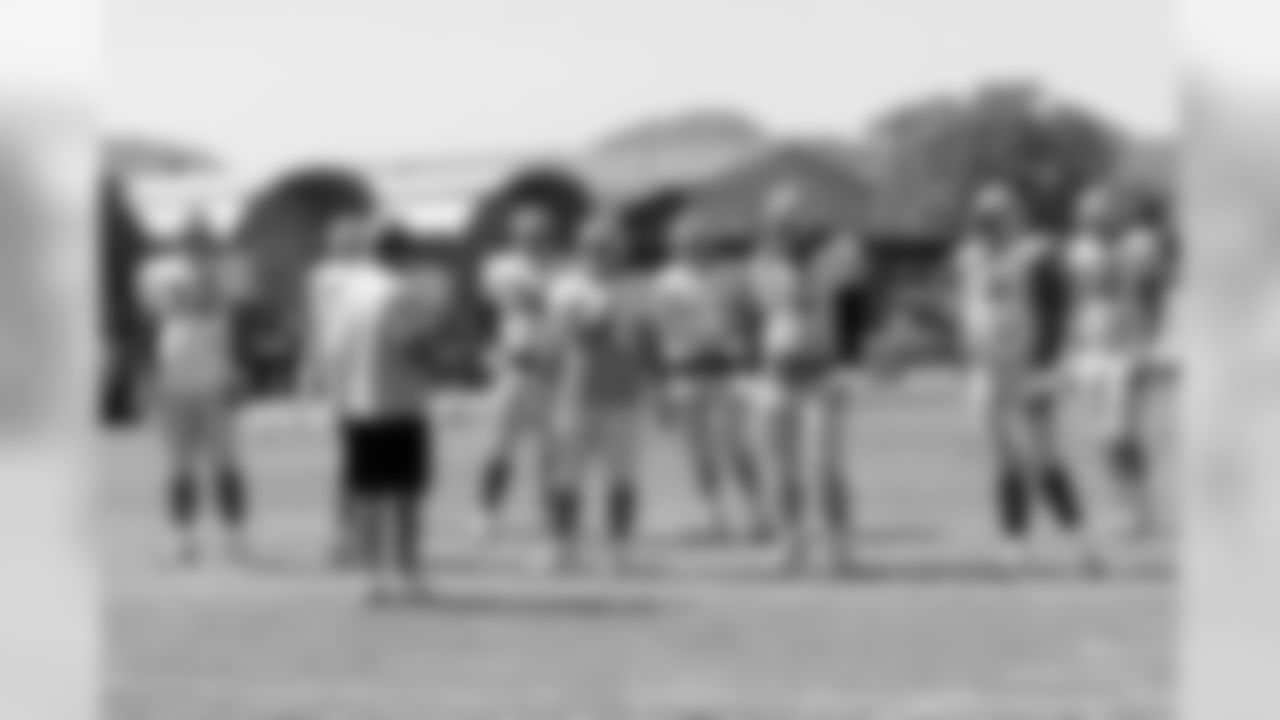
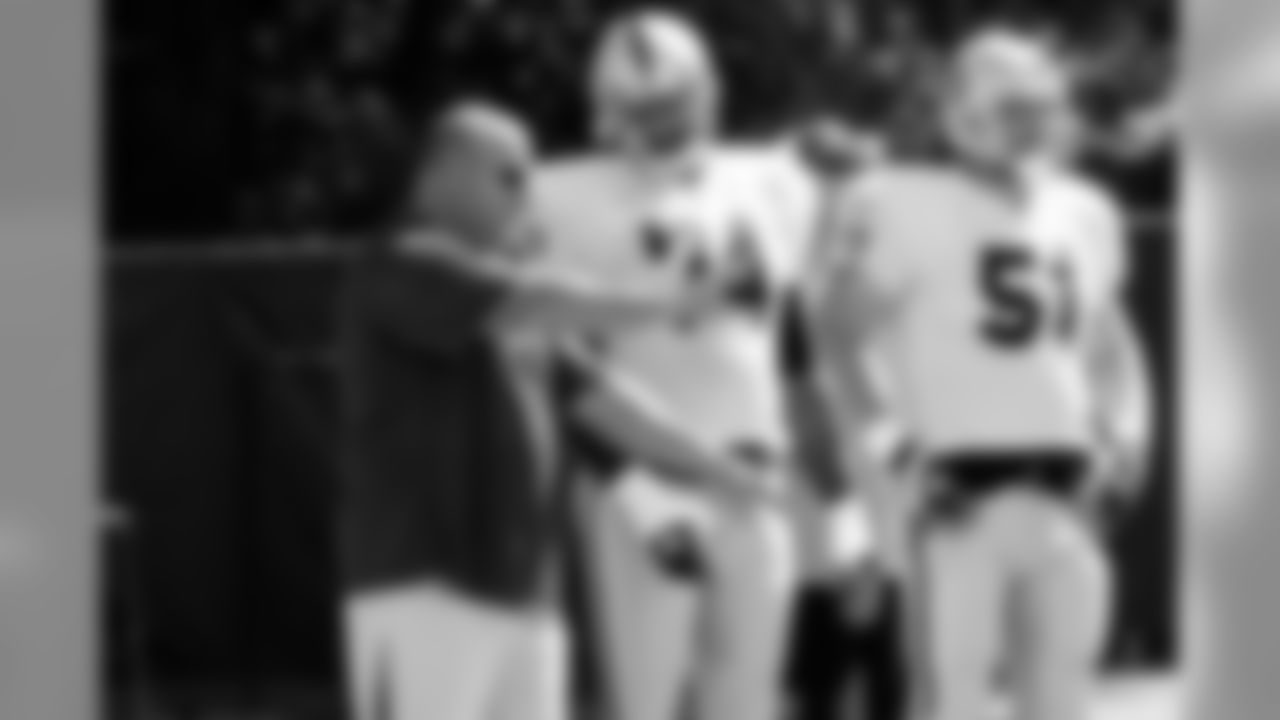
Offensive line coach Jim Michalczik offers instruction. Photo by Tony Gonzales.
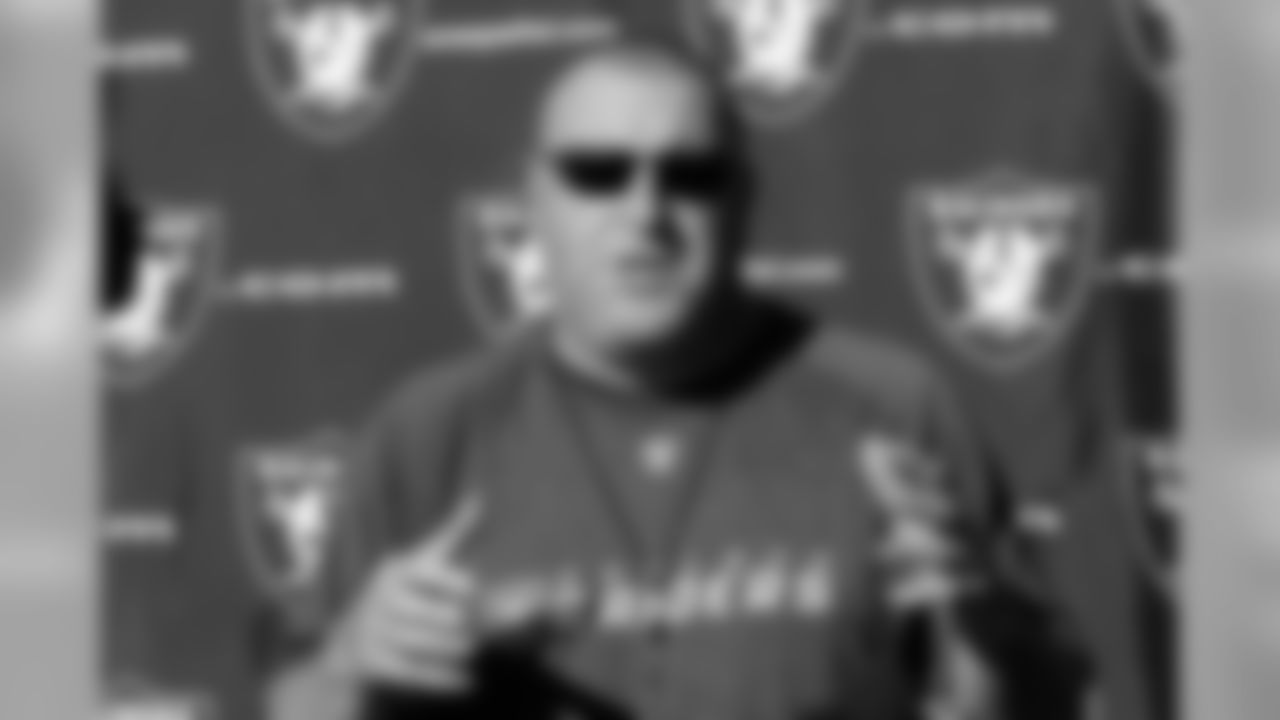
Raiders Head Coach Tom Cable addresses the media. Photo by Tony Gonzales.
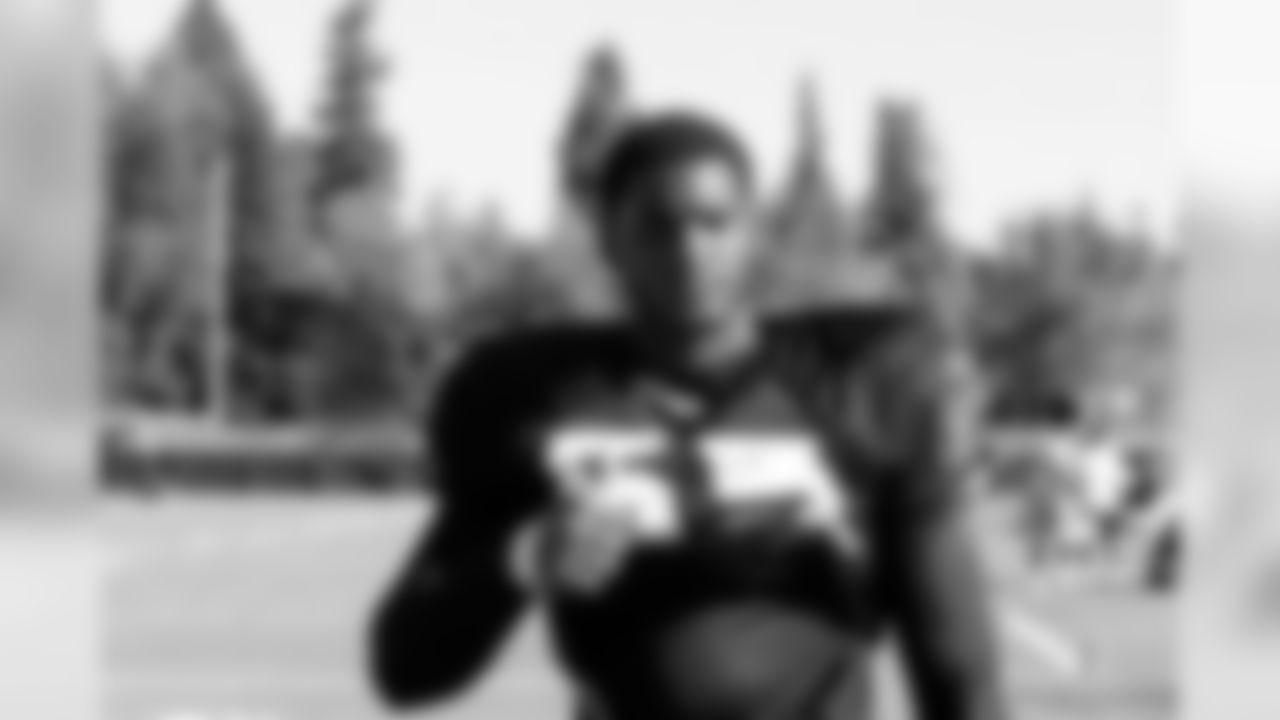
Rookie LB Rolando McClain. Photo by Tony Gonzales.
Rookie LB Rolando McClain takes it all in. Photo by Tony Gonzales.
Rookie DE Alex Daniels carrys a few extra sets of pads off the field after practice. Photo by Tony Gonzales.
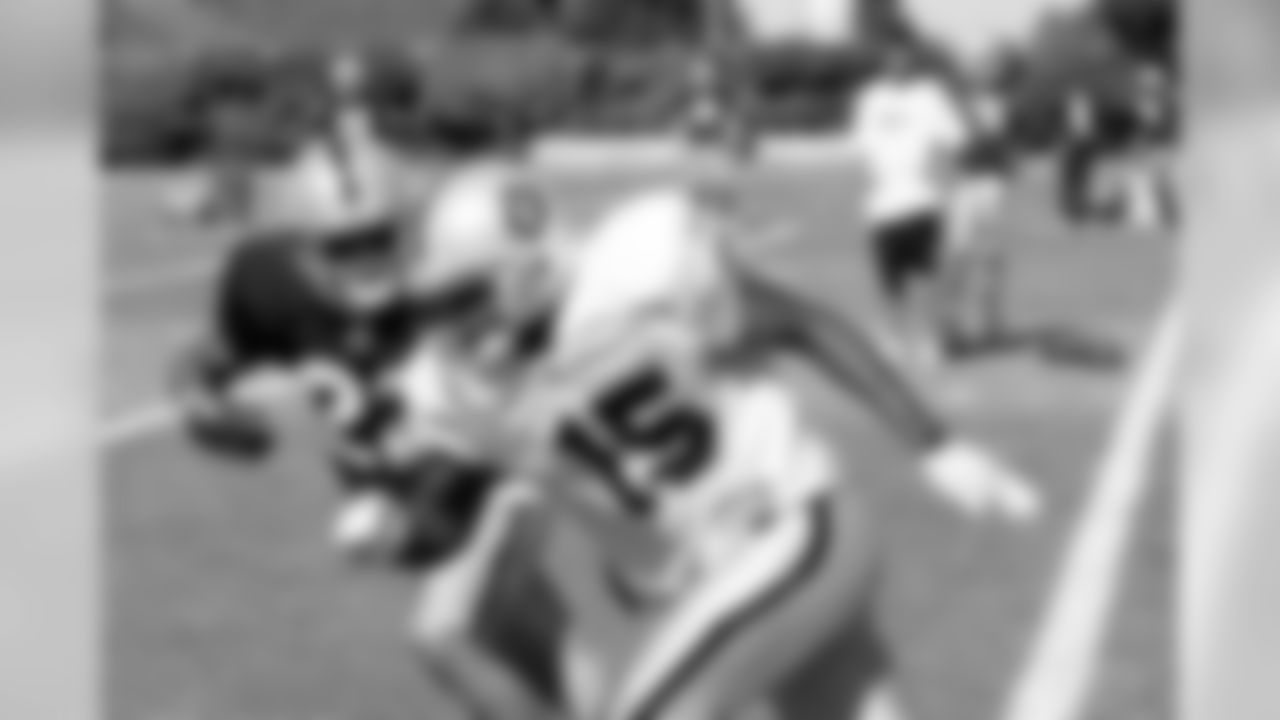
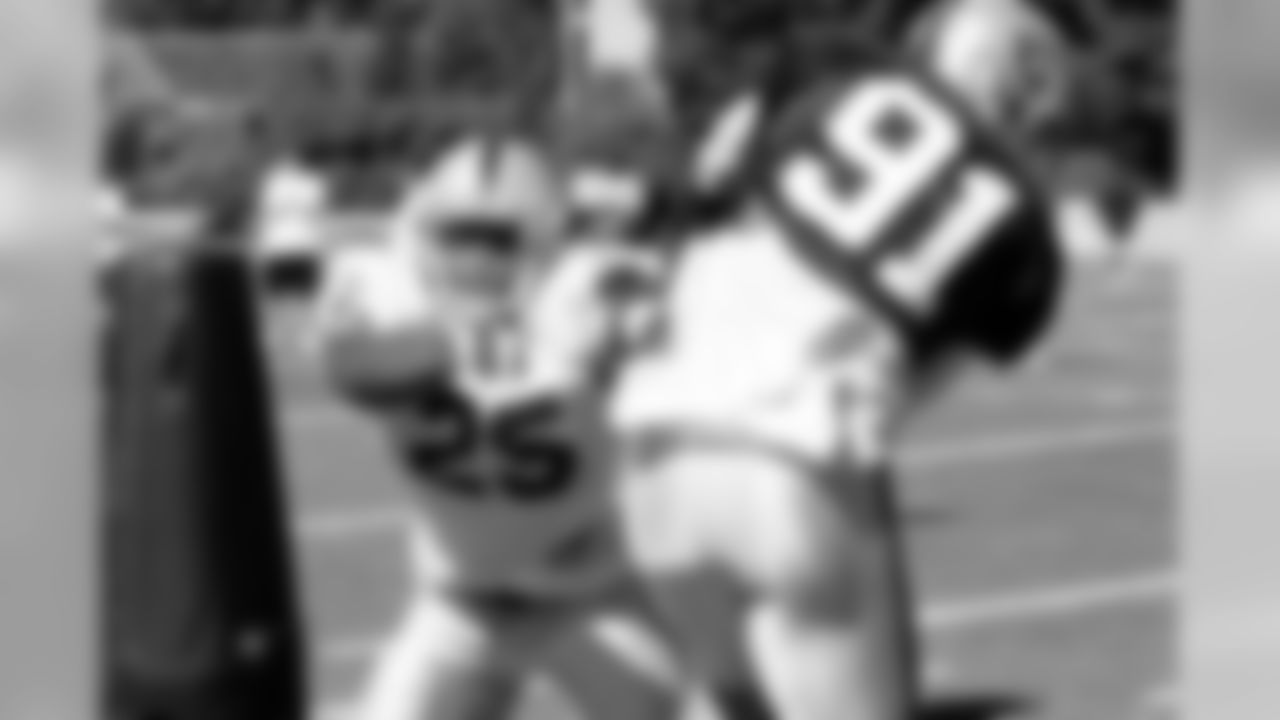
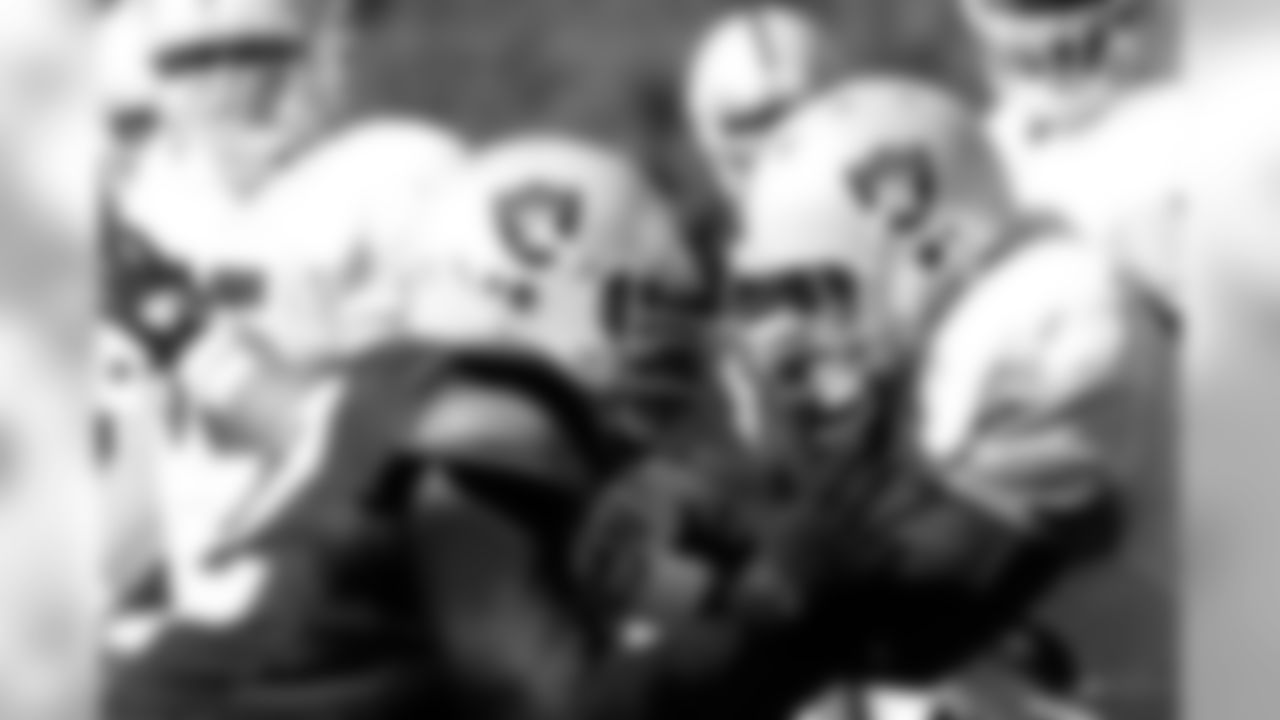
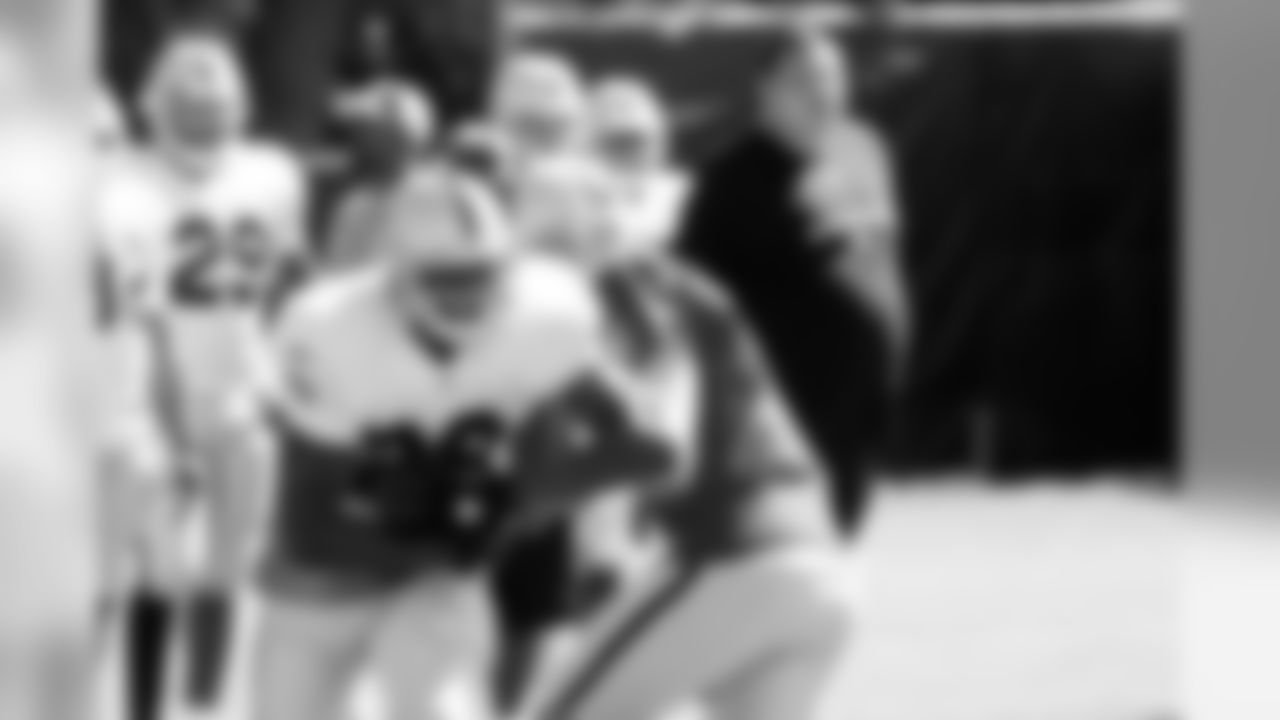
Richard Seymour looks to make the stop on RB Michael Bush. Photo by Tony Gonzales.
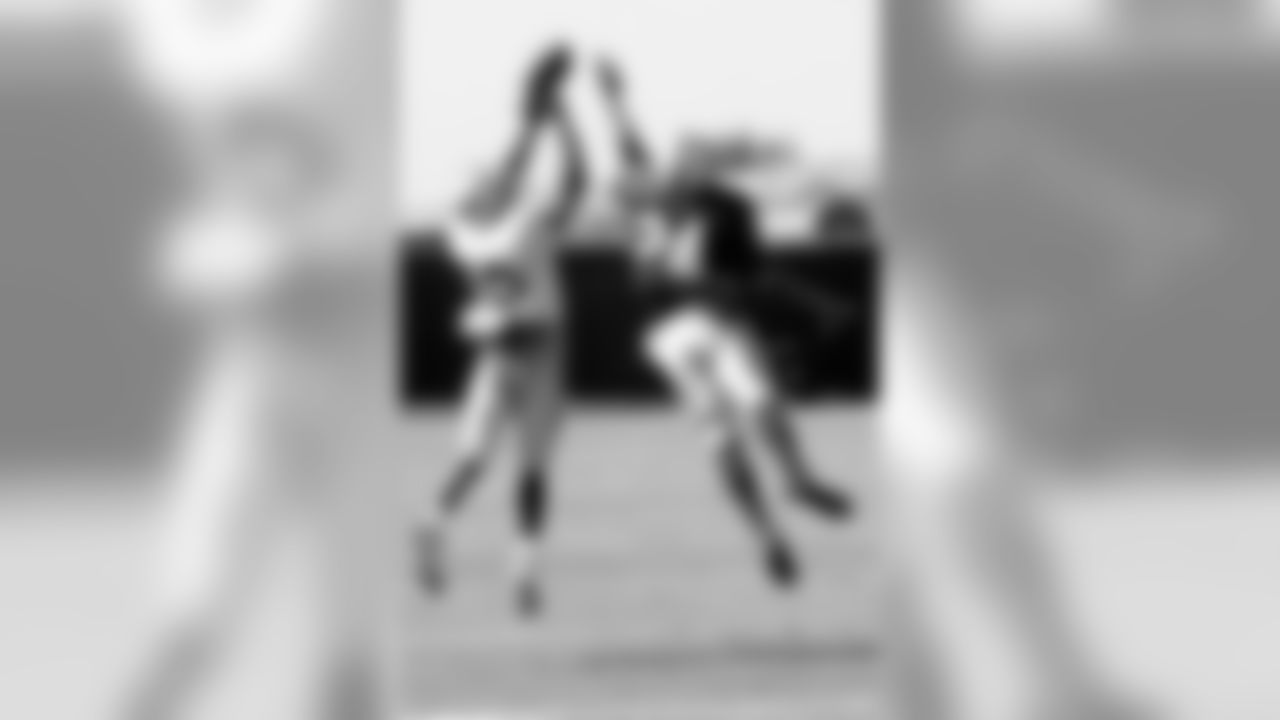
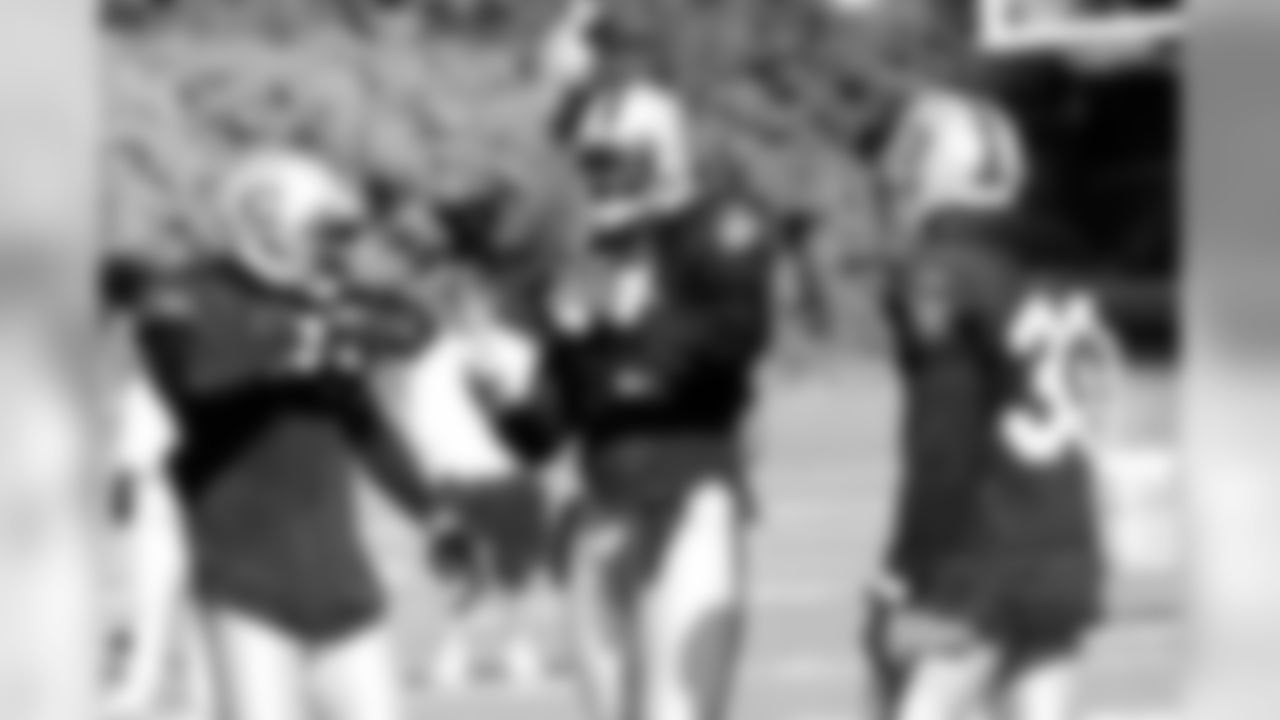
RB Darren McFadden (20) and FS Michael Huff go for the ball. Photo by Tony Gonzales.
Defensive backs coach Lionel Washington congratulates SS Tyvon Branch after a nice play. Photo by Tony Gonzales.
CB Joe Porter makes a nice defensive play. Photo by Tony Gonzales.
Rookie CB Jeremy Ware steps in front of WR Darrius Heyward-Bey (85) and goes for the interception. Photo by Tony Gonzales.
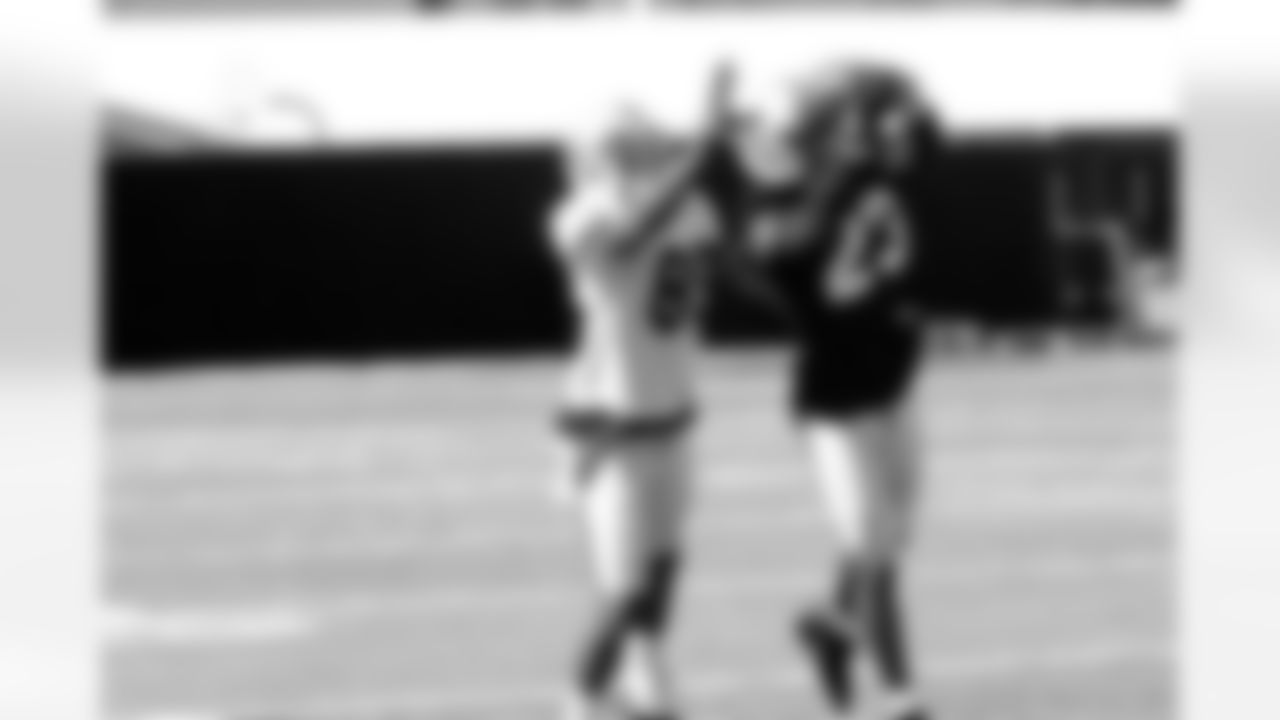
WR Johnnie Lee Higgins goes against CB Walter McFadden. Photo by Tony Gonzales.
RB Rock Cartwright keeps cool. Photo by Tony Gonzales.
LB/DE Trevor Scott matches up against RB Rock Cartwright. Photo by Tony Gonzales.
Rookie LB Rolando McClain gets ready to hit the bag. Photo by Tony Gonzales.
Running backs coach Kelly Skipper chats with RB Darren McFadden. Photo by Tony Gonzales.
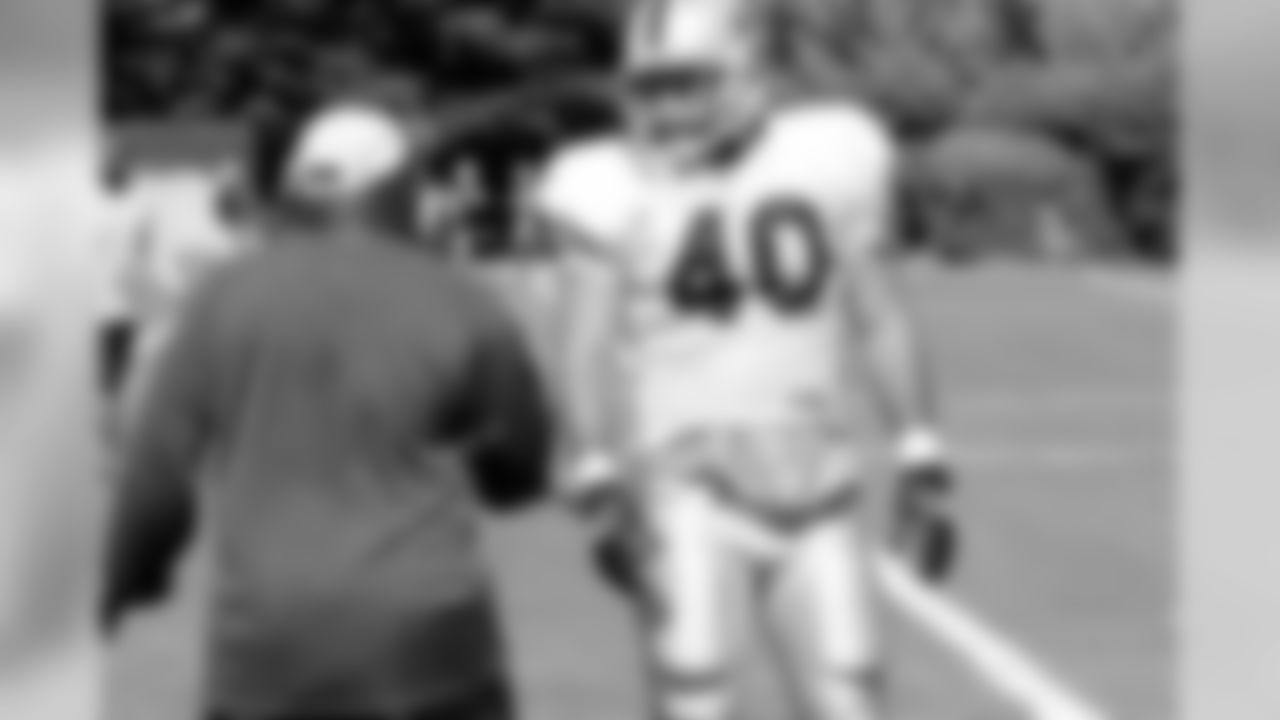
Running backs coach Kelly Skipper chats with rookie FB Chane Moline. Photo by Tony Gonzales.
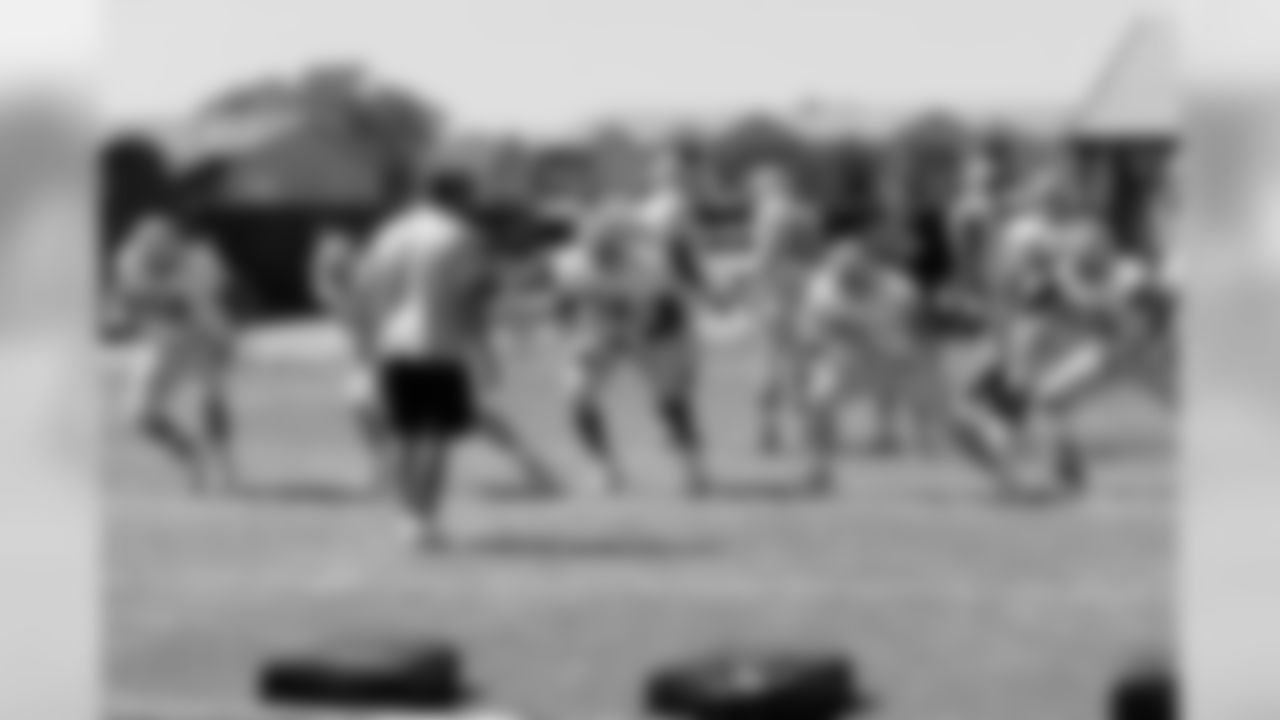
Things got physical during the 9th practice of training camp. Photo by Tony Gonzales.
LB Ricky Brown and FB Mansae Tonga tangle during a drill. Photo by Tony Gonzales.
LB Rolando McClain listens to linebackers coach Mike Haluchak.
Raiders Head Coach Tom Cable addresses the team after practice. Photo by Tony Gonzales.
Quarterbacks coach Paul Hackett observes the quarterbacks.
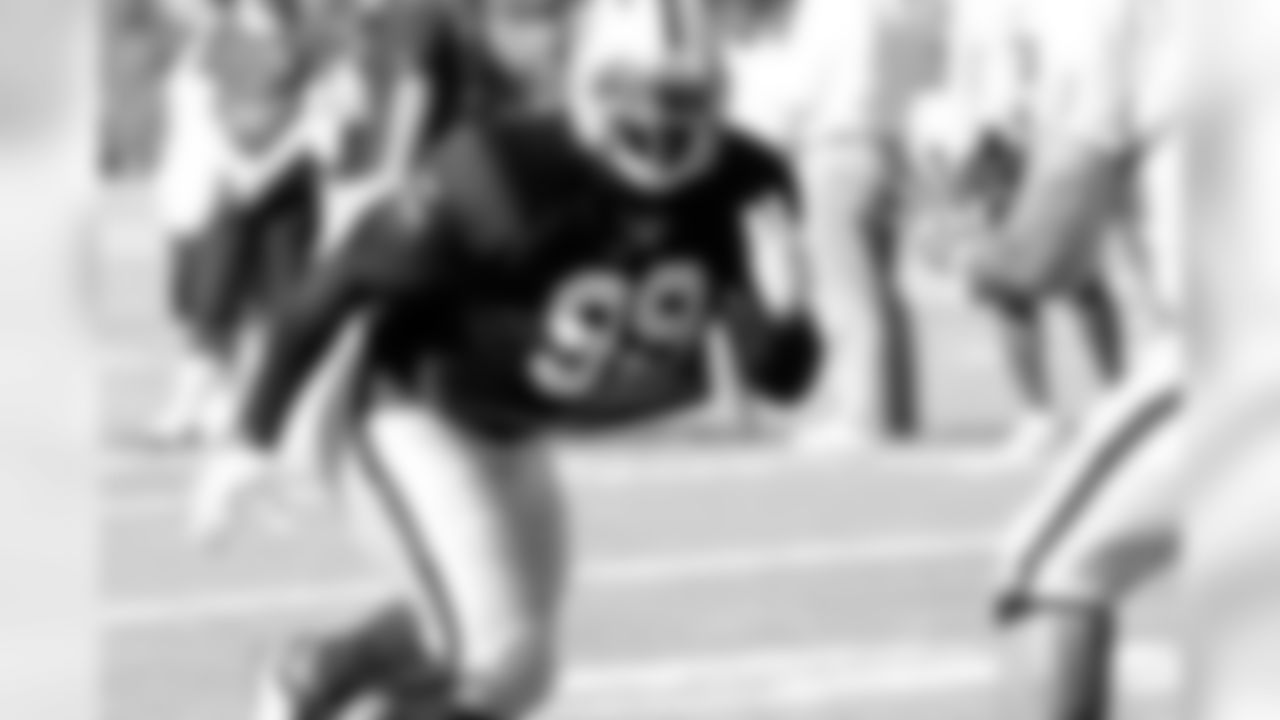
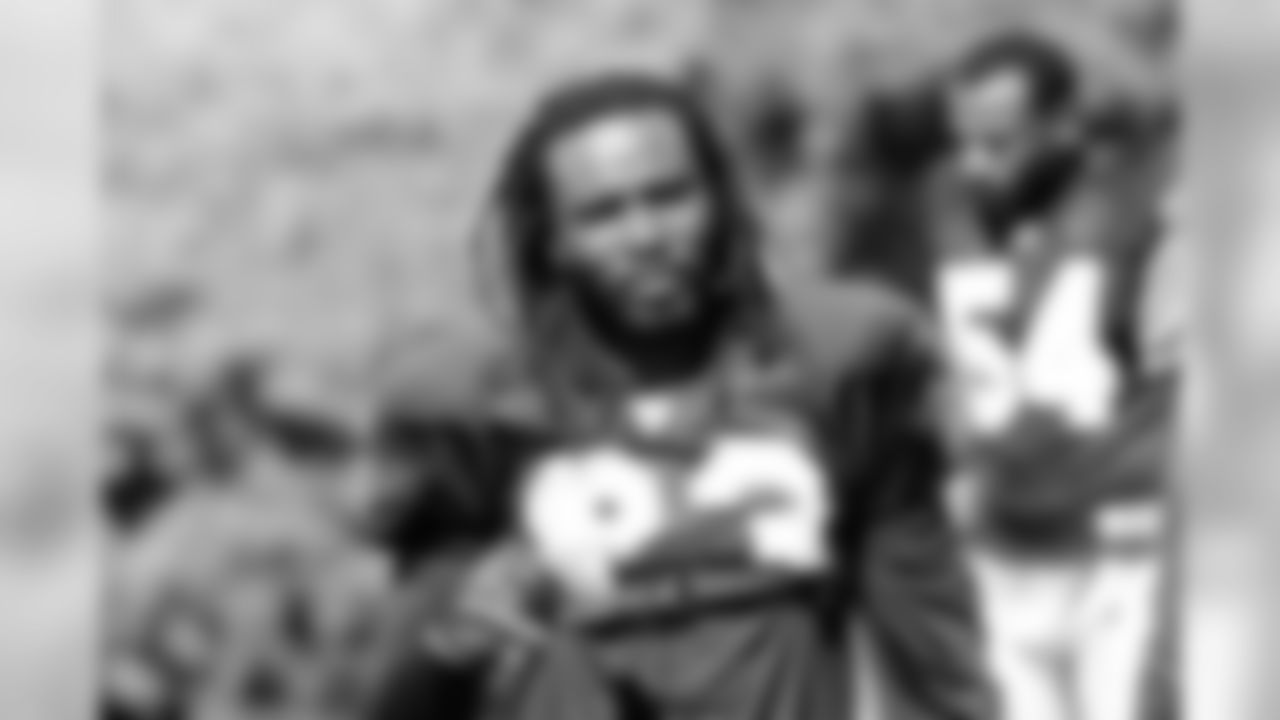
DE Richard Seymour rushes the passer. Photo by Tony Gonzales.
Defensive players discuss strategy. Photo by Tony Gonzales.
LB Rolando McClain soaks it in. Photo by Tony Gonzales.
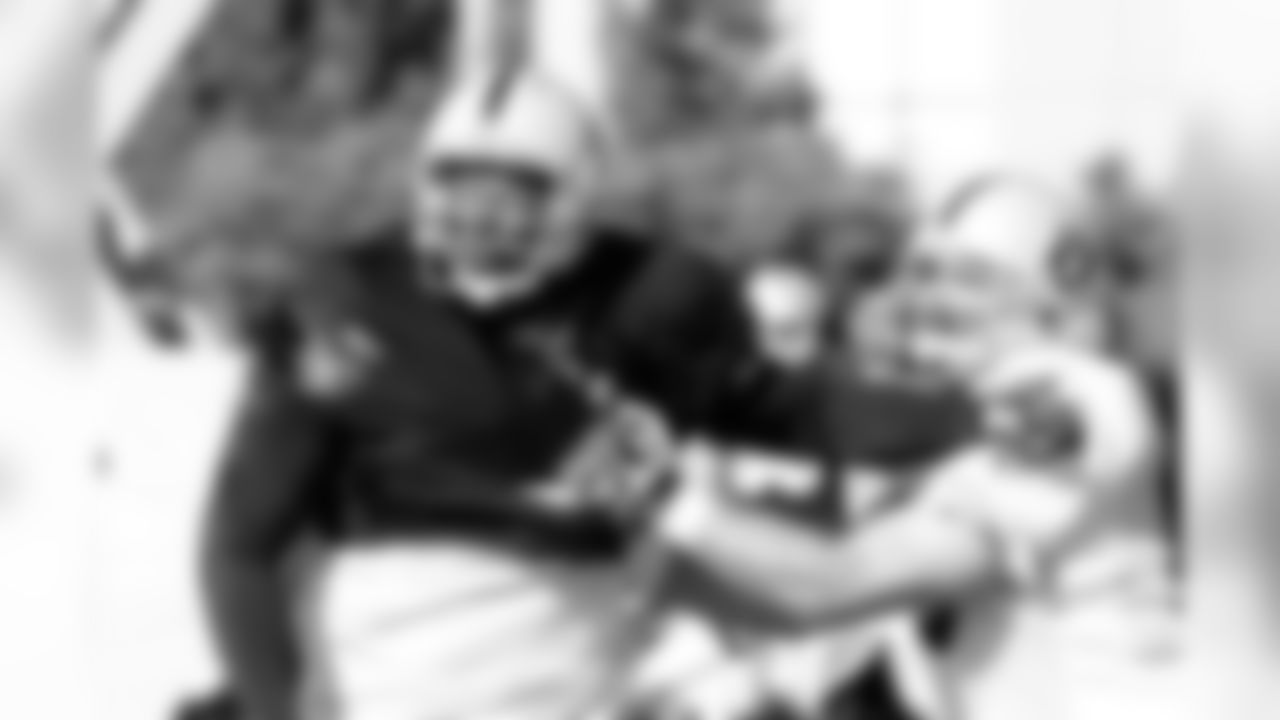
Photo by Tony Gonzales.
RB Darren McFadden looks for running room. Photo by Tony Gonzales.
QB Charlie Frye watches the action. Photo by Tony Gonzales.
QB Bruce Gradkowski. Photo by Tony Gonzales.
QB Bruce Gradkowski. Photo by Tony Gonzales.
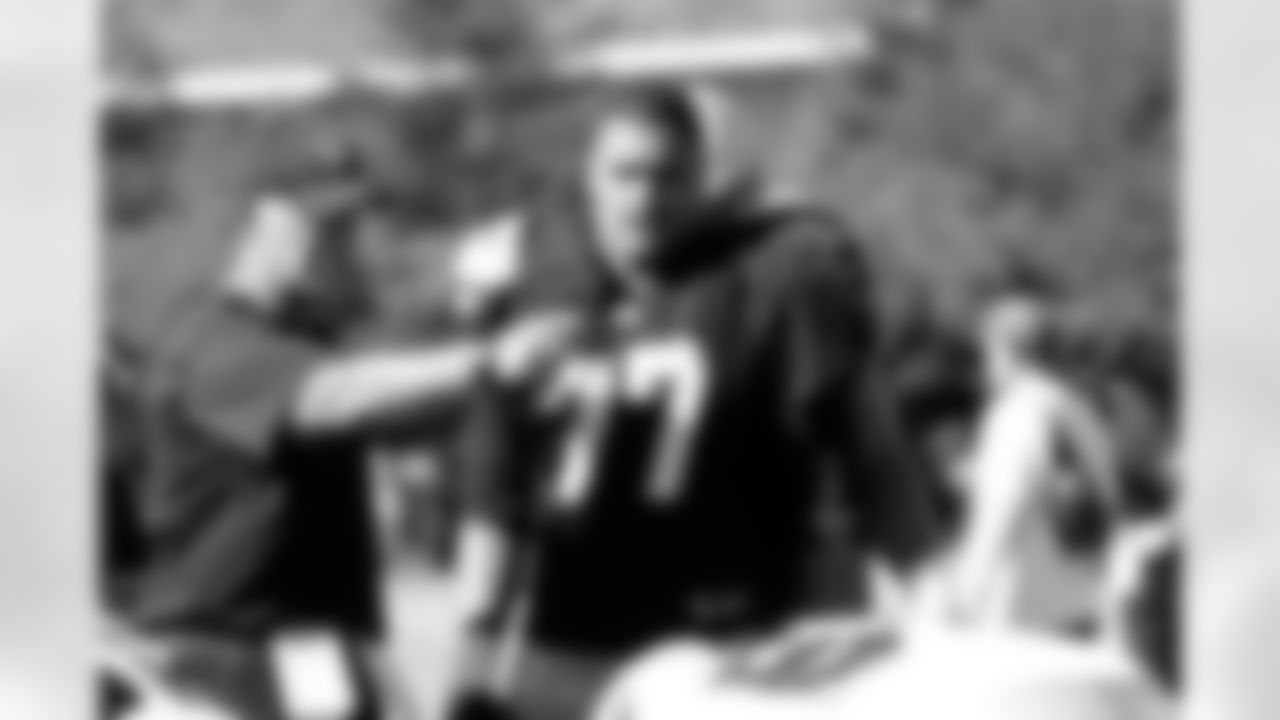
Robert Gallery locks horns with Richard Seymour. Photo by Tony Gonzales.
Defensive line coach Mike Waufle instructs DE Matt Shaughnessy. Photo by Tony Gonzales.
OT Mario Henderson. Photo by Tony Gonzales.
Rookie DE Lamarr Houston. Photo by Tony Gonzales.
Head Coach Tom Cable offers some instruction. Photo by Tony Gonzales.
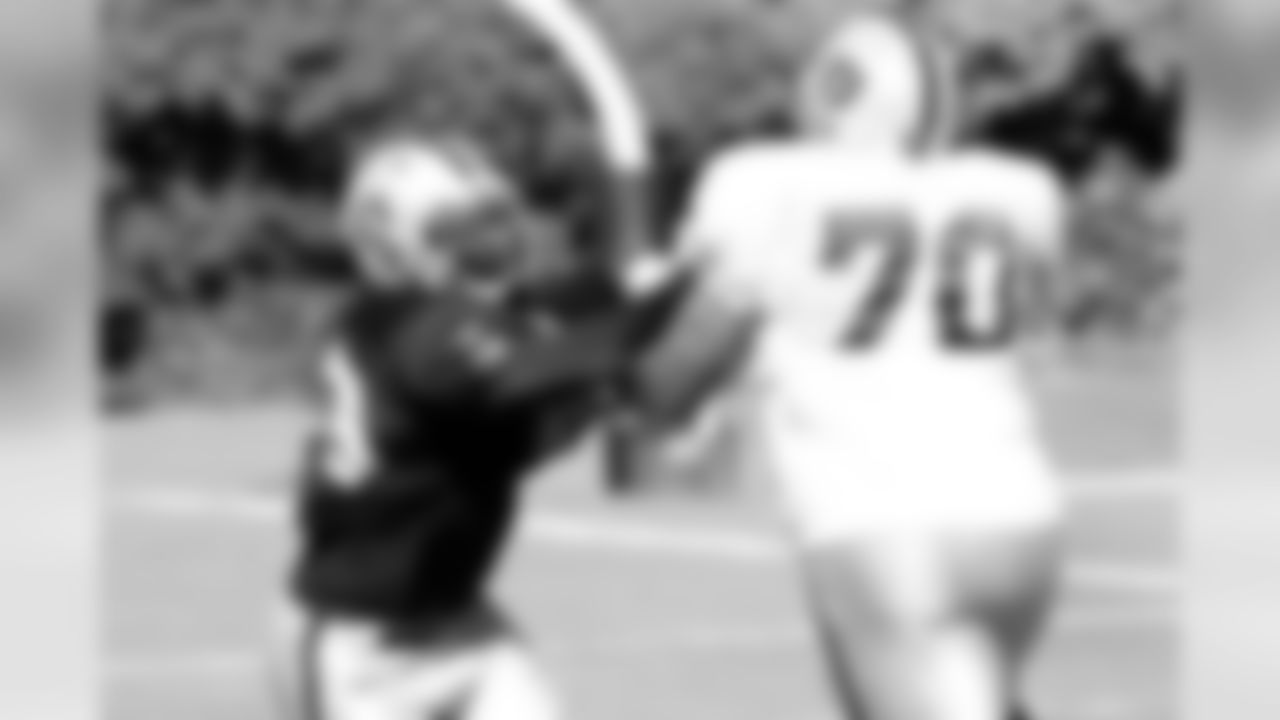
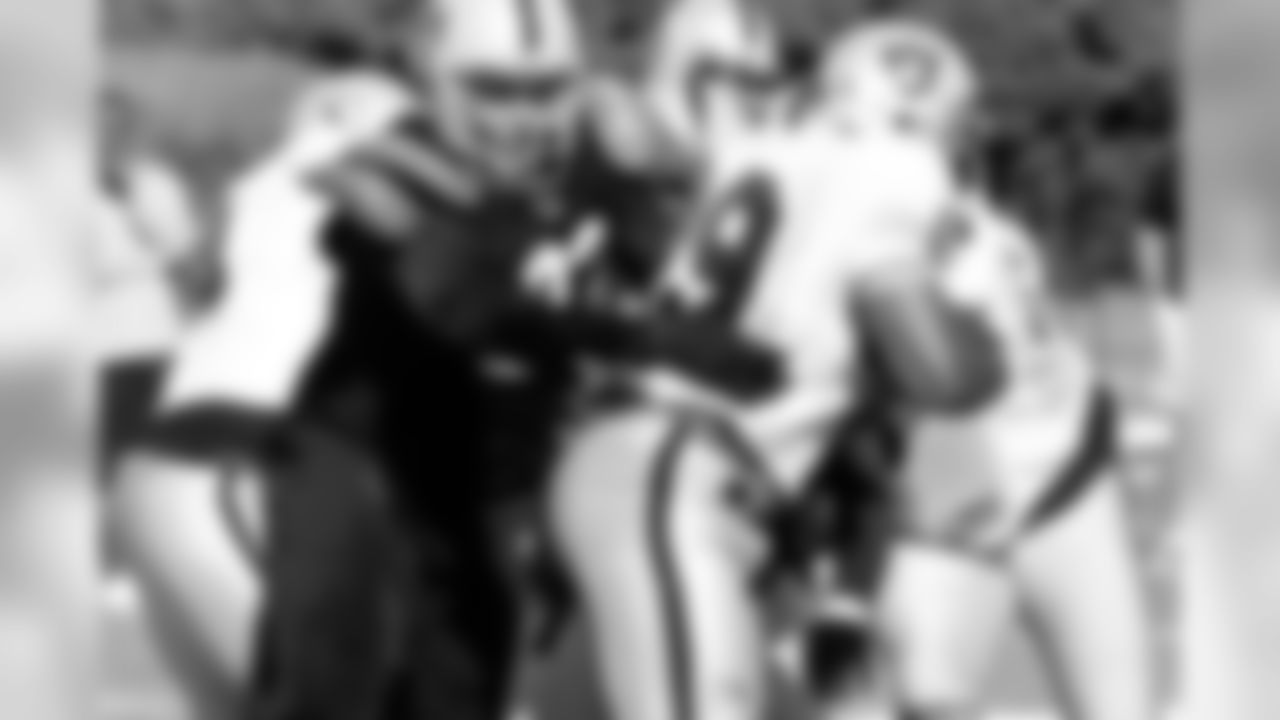
DE Lamarr Houston tangles with Langston Walker (70). Photo by Tony Gonzales.
Richard Seymour and Robert Gallery go at it.

LB Rolando McClain chats with his position coach Mike Haluchak. Photo by Tony Gonzales.
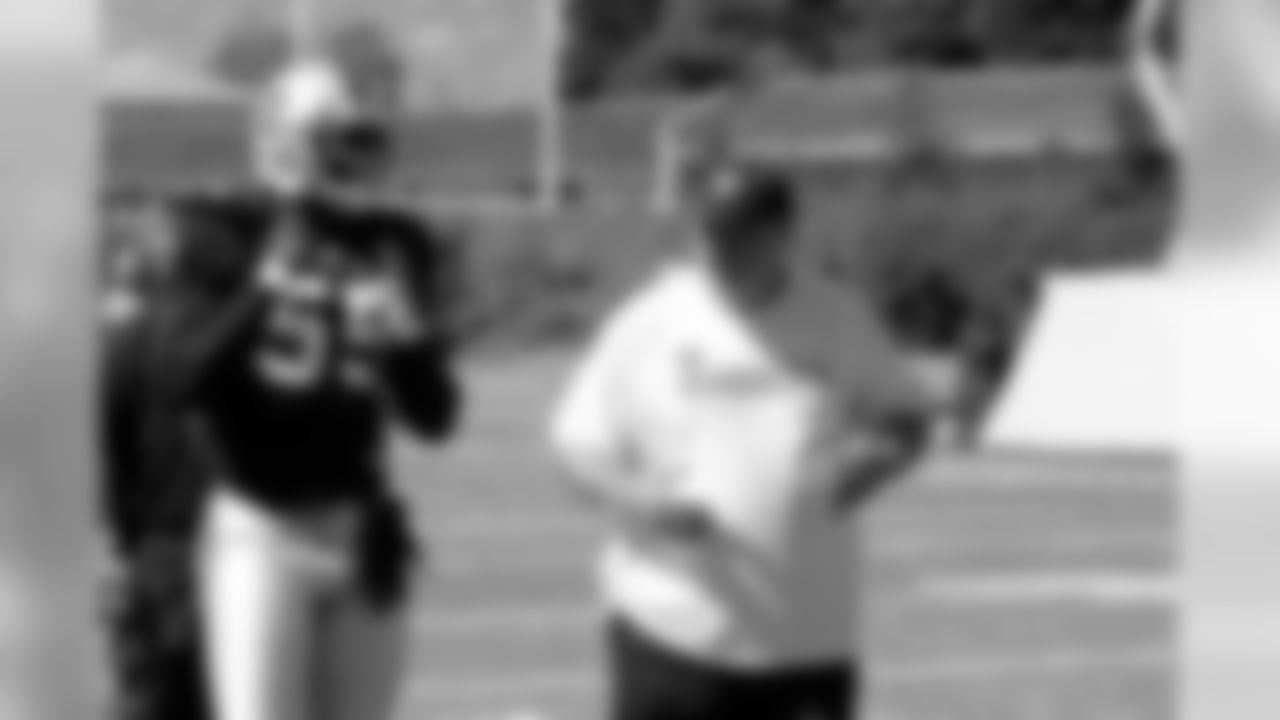
LB Quentin Groves points out an adjustment. Photo by Tony Gonzales.
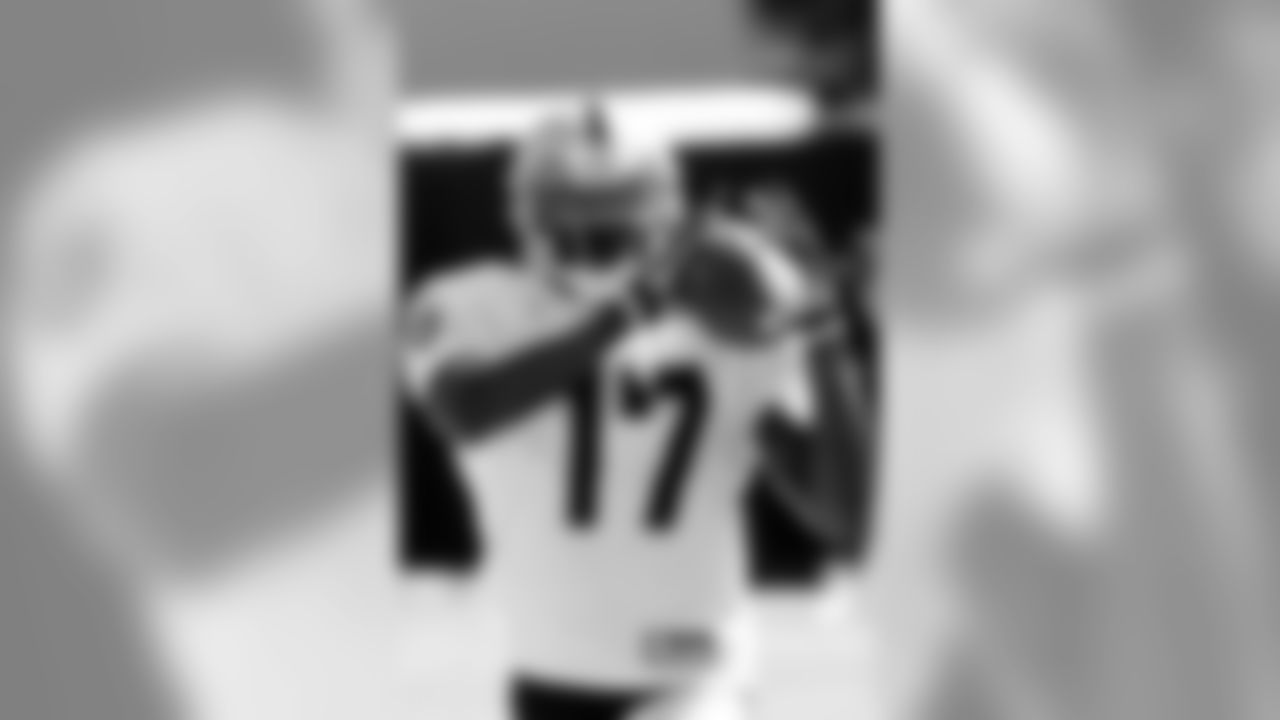
WR Johnnie Lee Higgins. Photo by Tony Gonzales.
WR Johnathan Holland. Photo by Tony Gonzales.
QB Kyle Boller hands off to RB Darren McFadden. Photo by Tony Gonzales.
Head Coach Tom Cable offers some instruction. Photo by Tony Gonzales.
Rookie CB Jeremy Ware. Photo by Tony Gonzales.
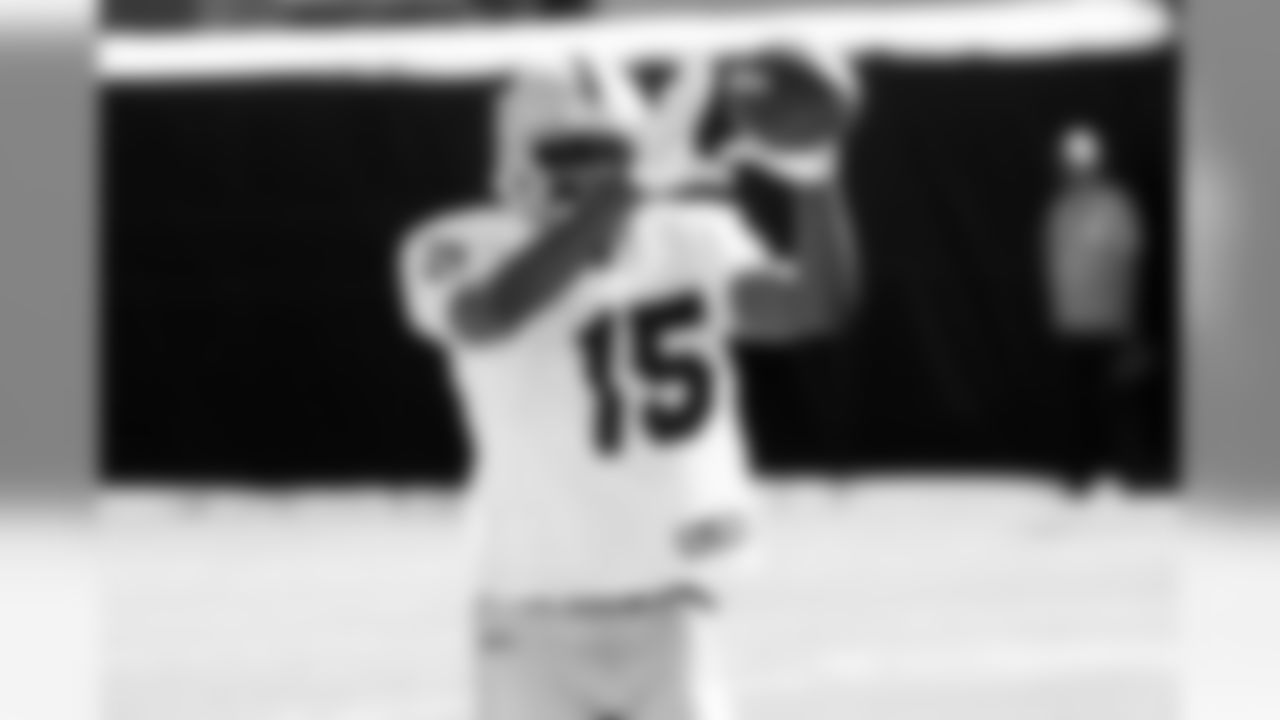
WR Darrius Heyward-Bey makes the catch. Photo by Tony Gonzales.
DT Chris Cooper hits the bag. Photo by Tony Gonzales.